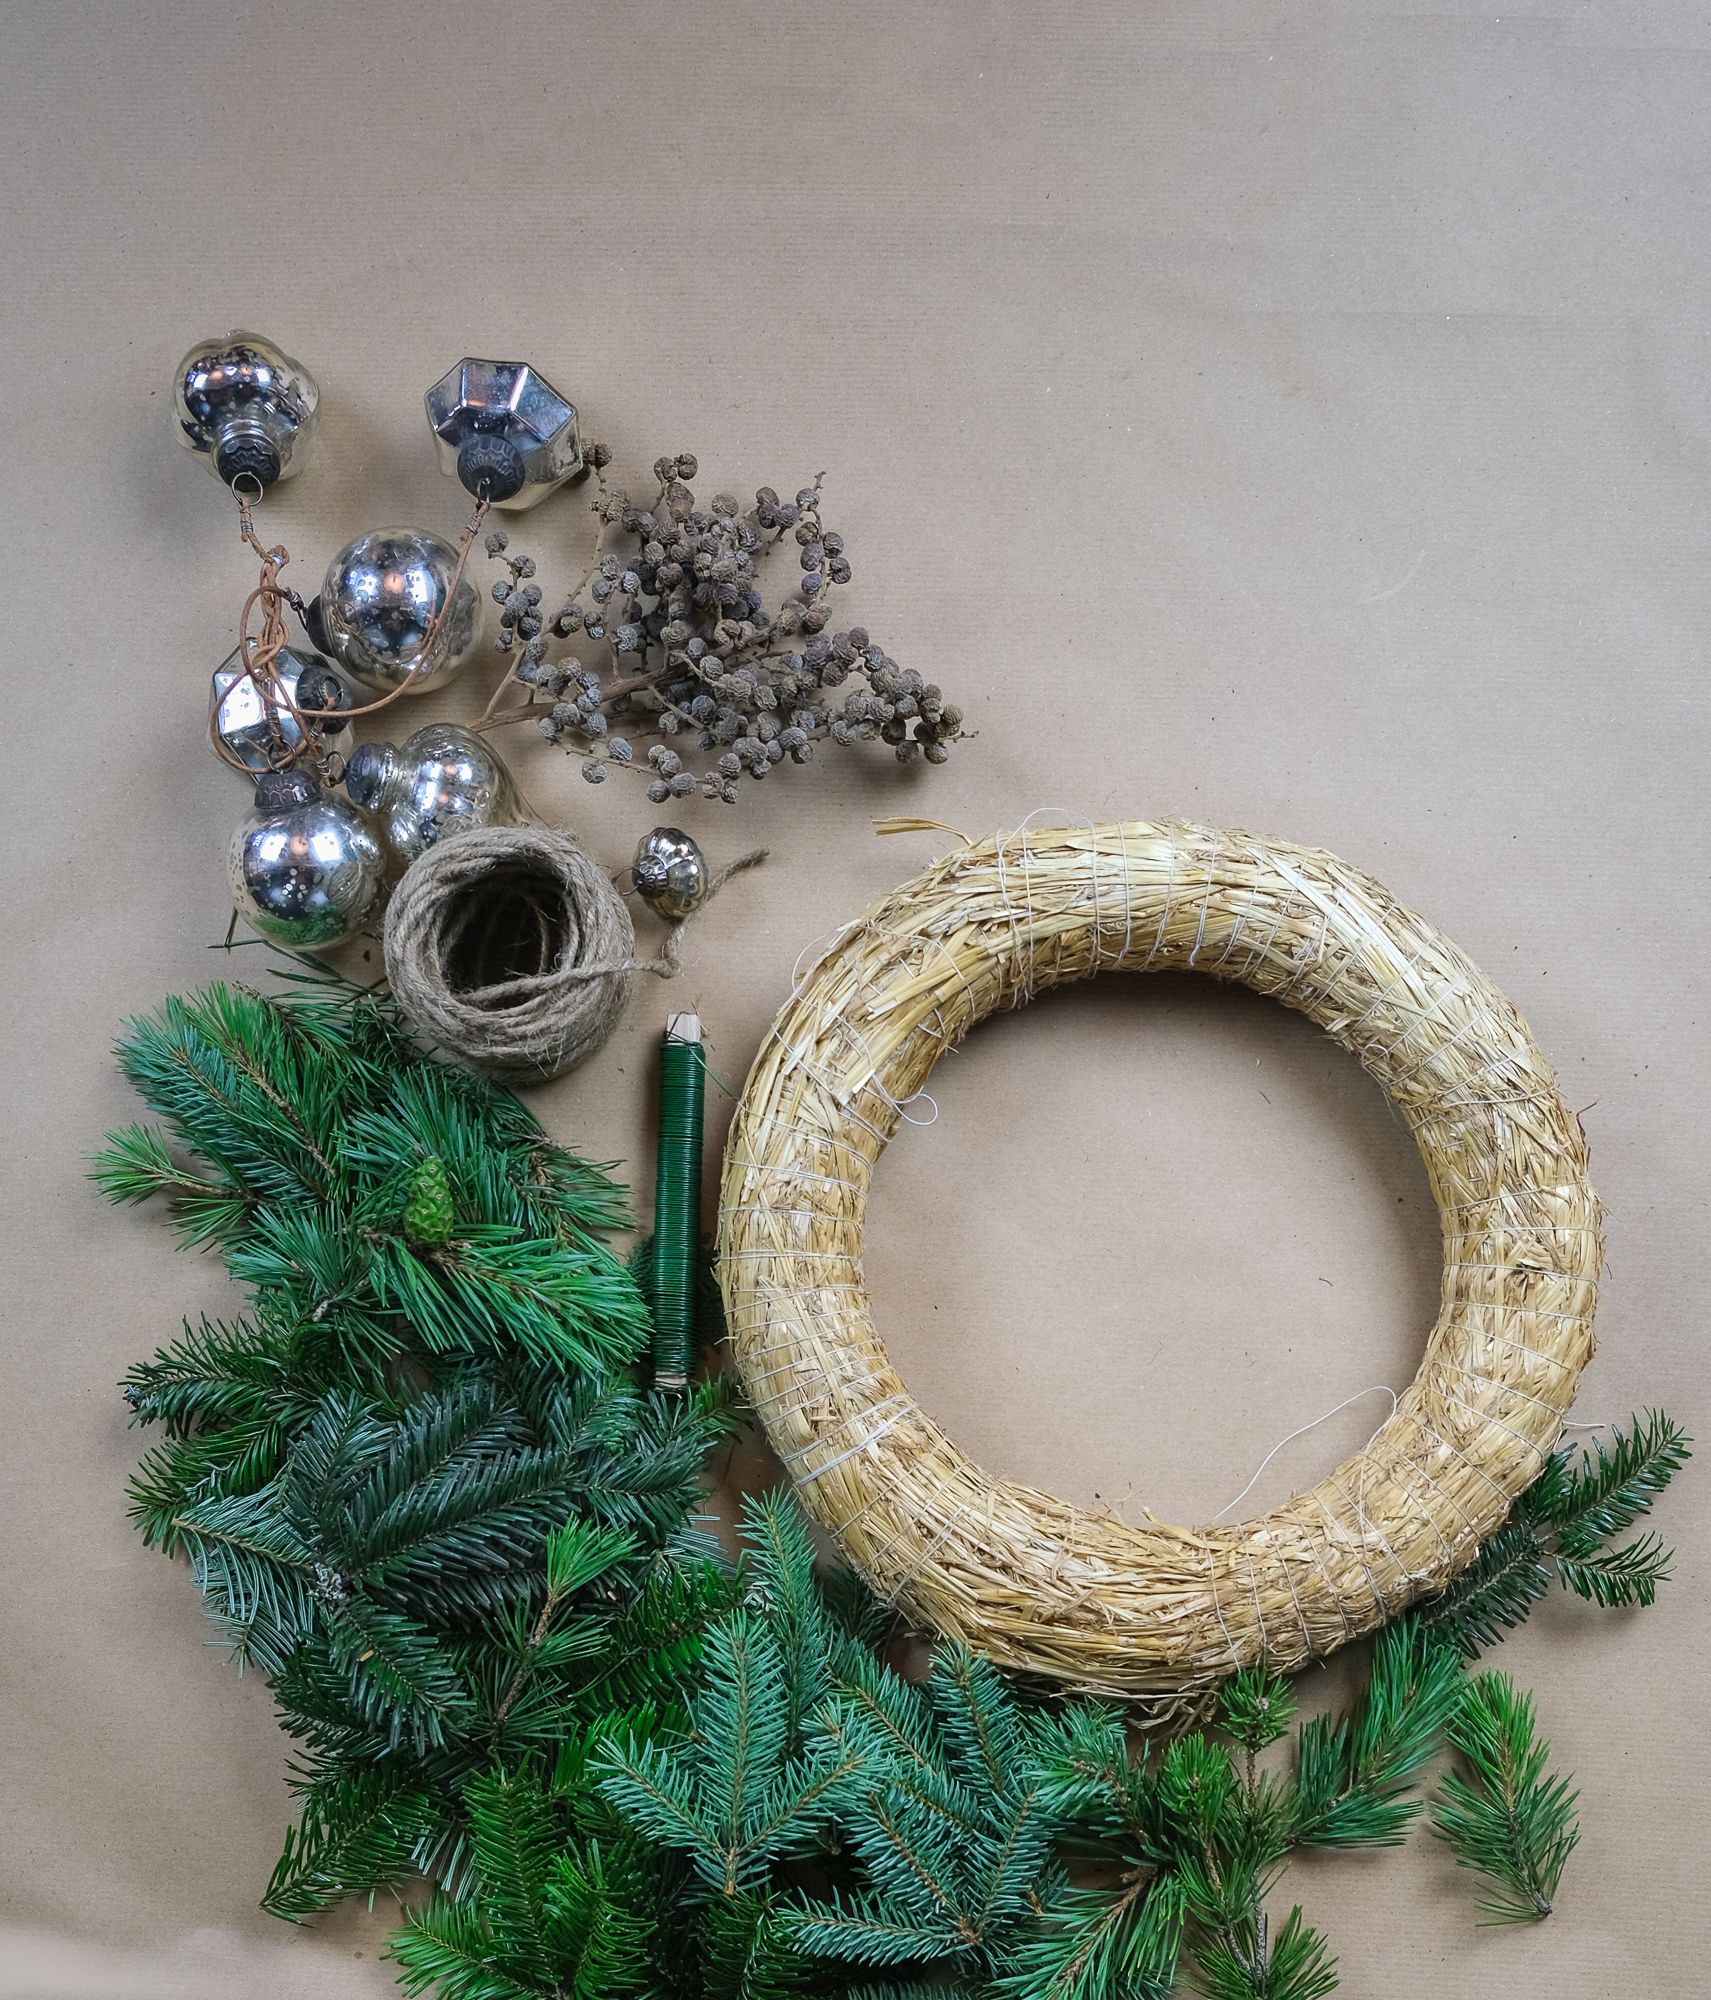
Make Your Own Advent Wreath: Step-By-Step Instructions
Which materials do you need to make your own Advent wreath?
First of all, you need plenty of tree branches. I used a mixture of fir, pine and Swiss pine for my wreath. You will also need a ring made of straw, which you will find in different sizes in any garden centre. I chose one which has a diameter of 25 centimetres. Finally, you will need some wire to bind the branches to the straw ring as well as a pair of secateurs to cut off extra bits you don’t need. I recommend using a pair of sturdy gloves to protect your hands from the fir needles.
Tipp: My mother recommends also incorporating some juniper branches. They give the wreath a special appearance with their berries and they also make it last longer than if you just use traditional tree branches.
Once you have got everything you need, it’s time to get started.
Step-by-step instructions for making an Advent wreath
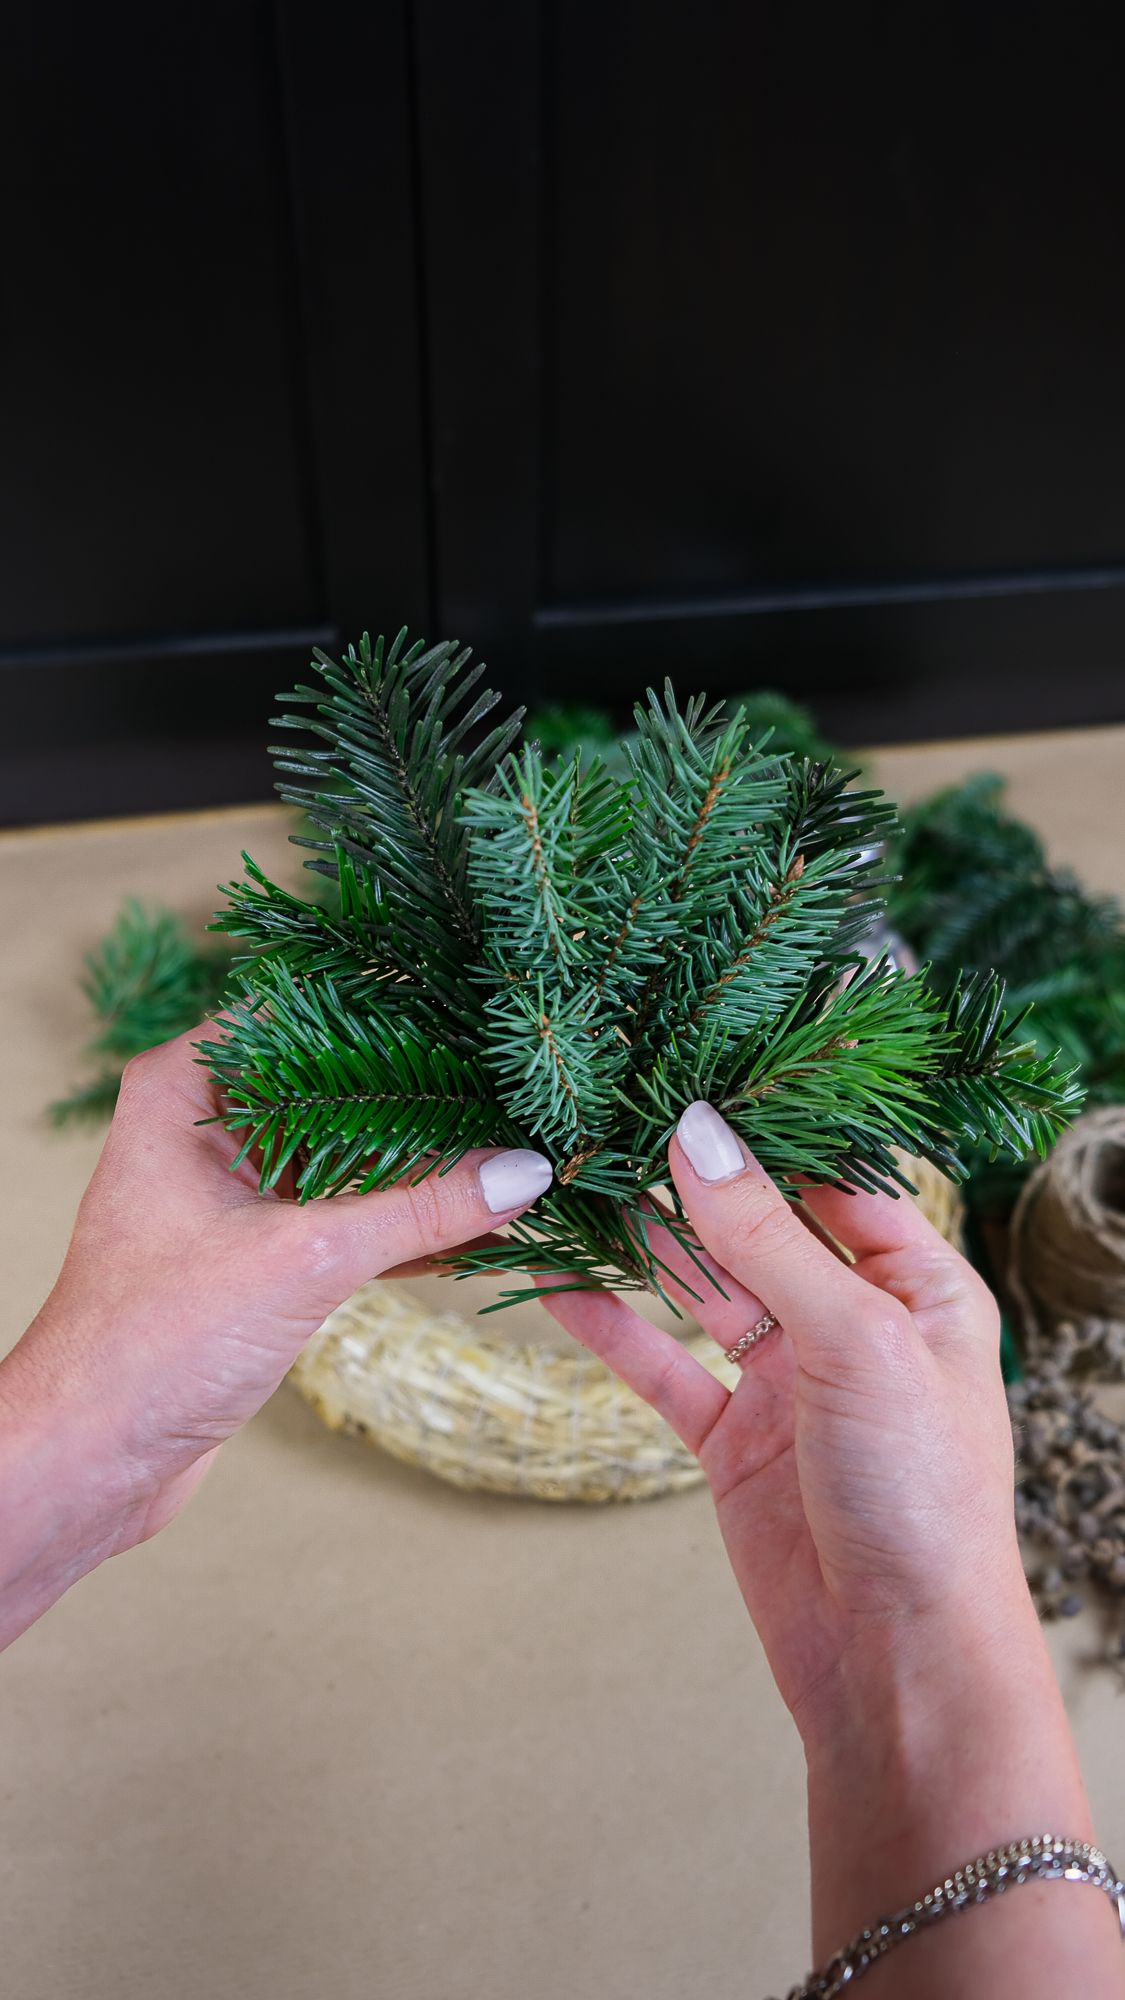
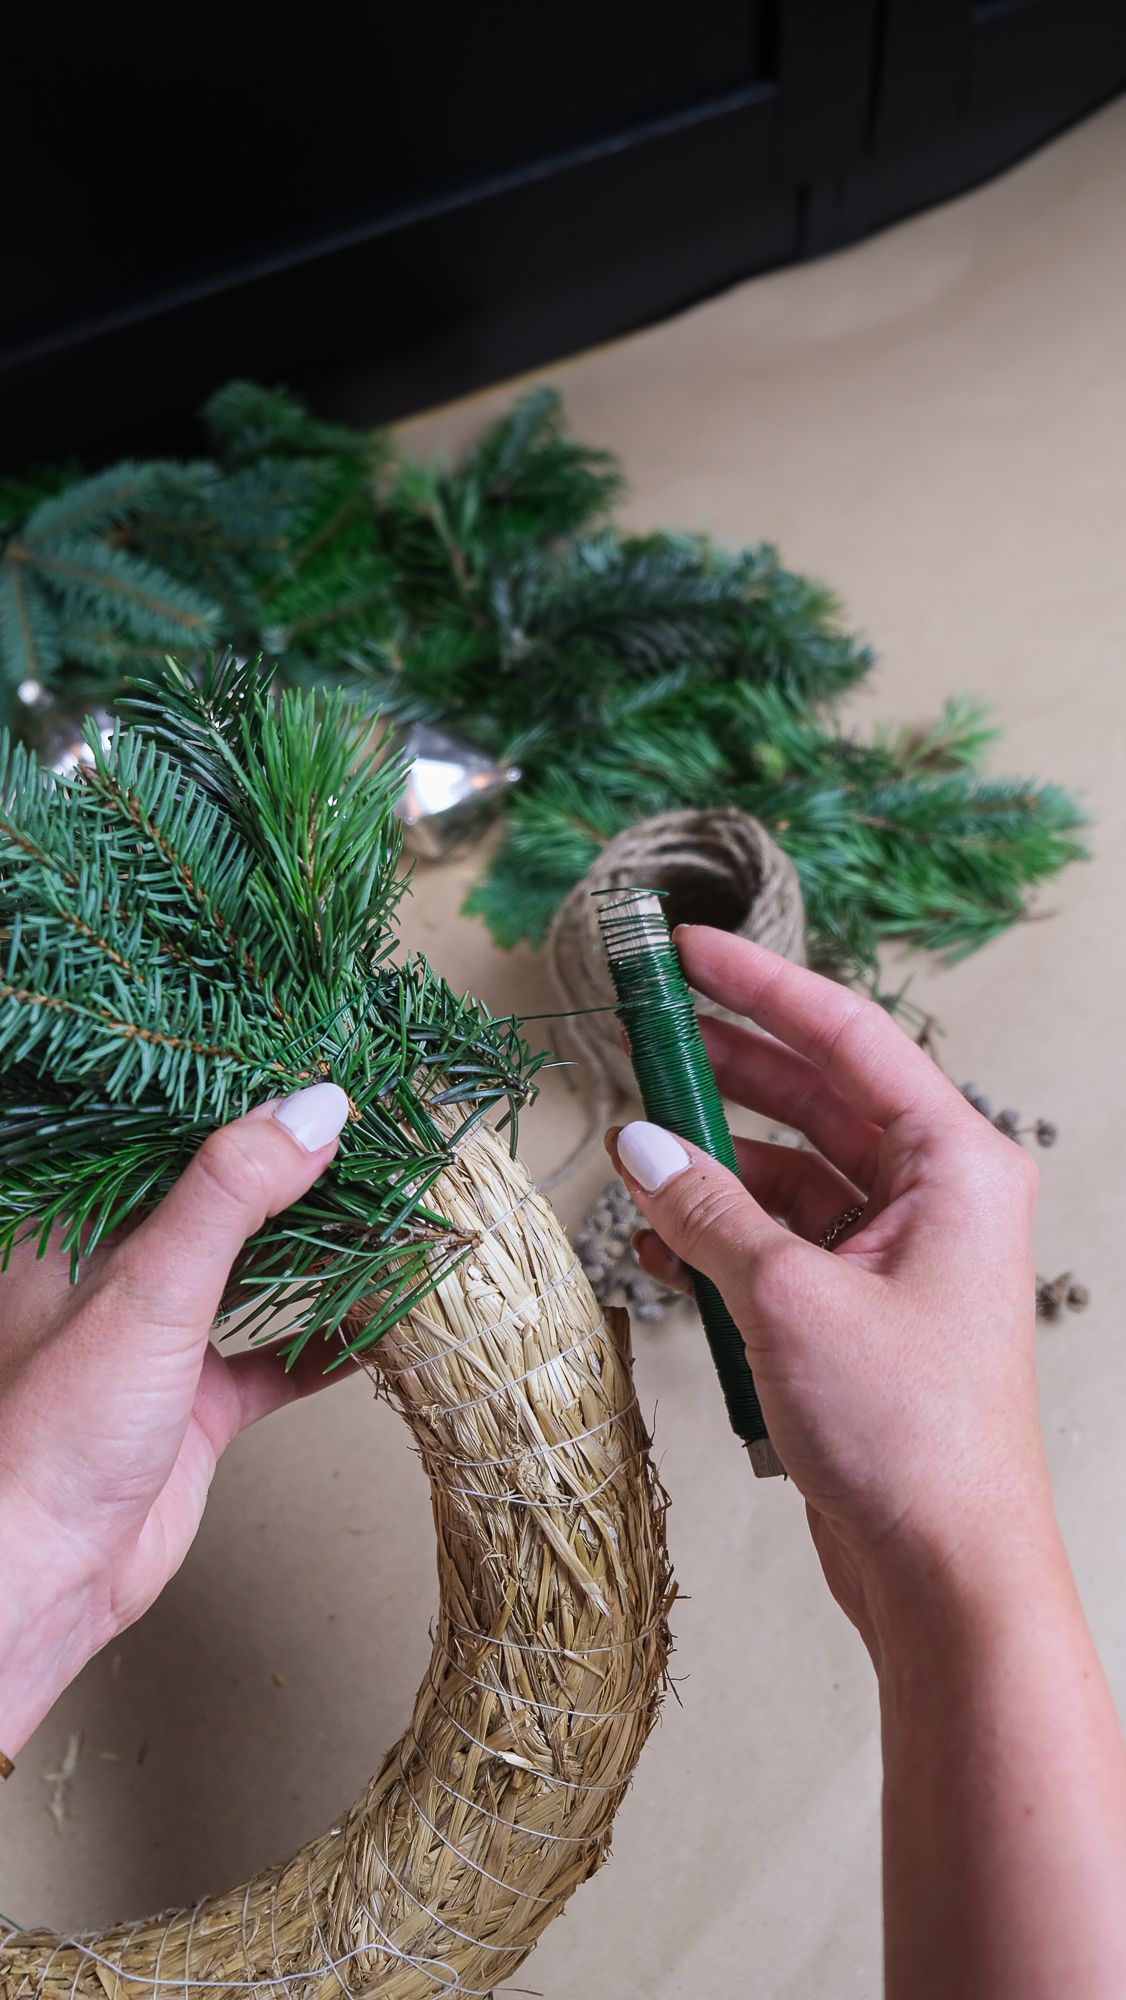
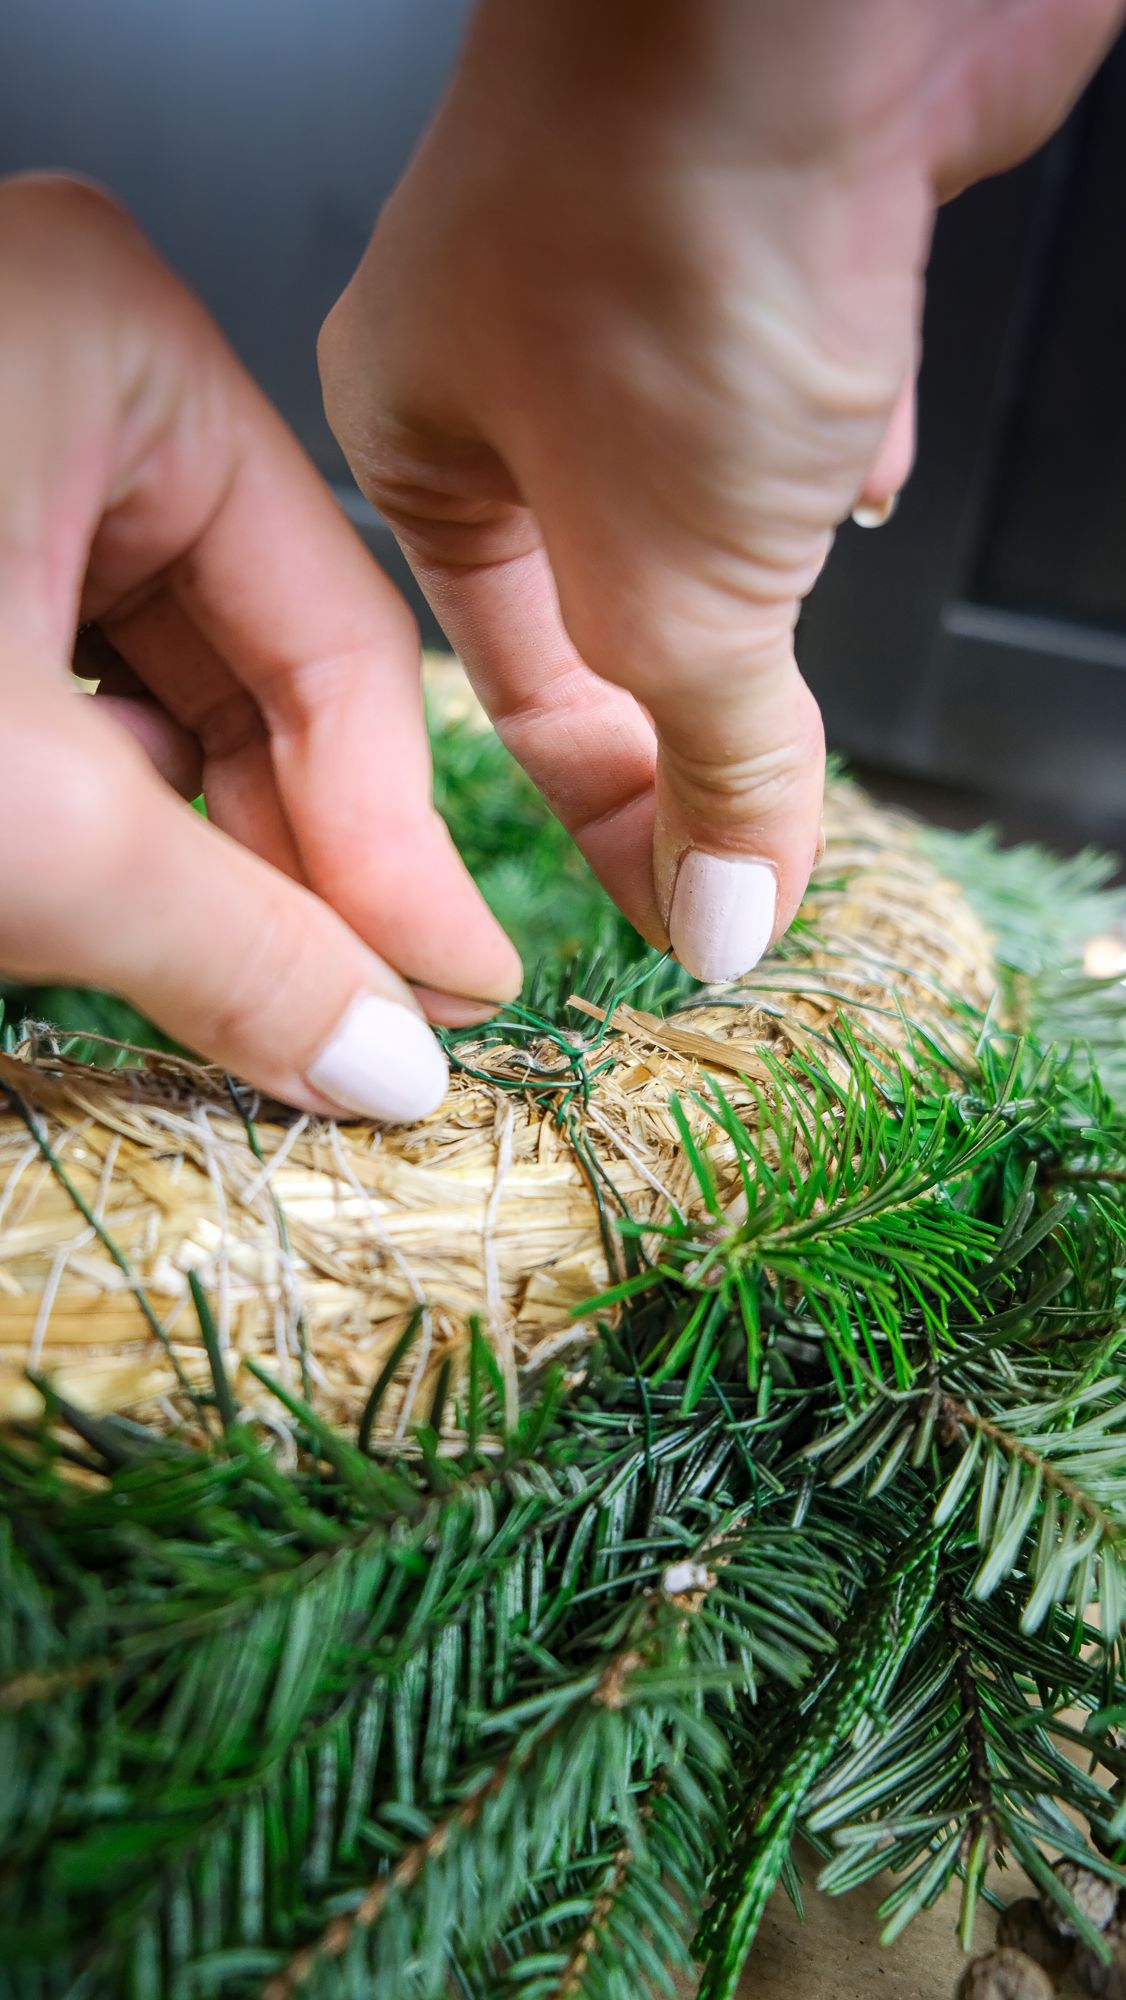
1. Cut the branches into small sprigs. Place a sprig onto the straw ring. Then bind the end of the sprig onto the ring by wrapping the wire around twice.
2. Take another sprig and do the same, this time a few centimetres further along the straw ring.
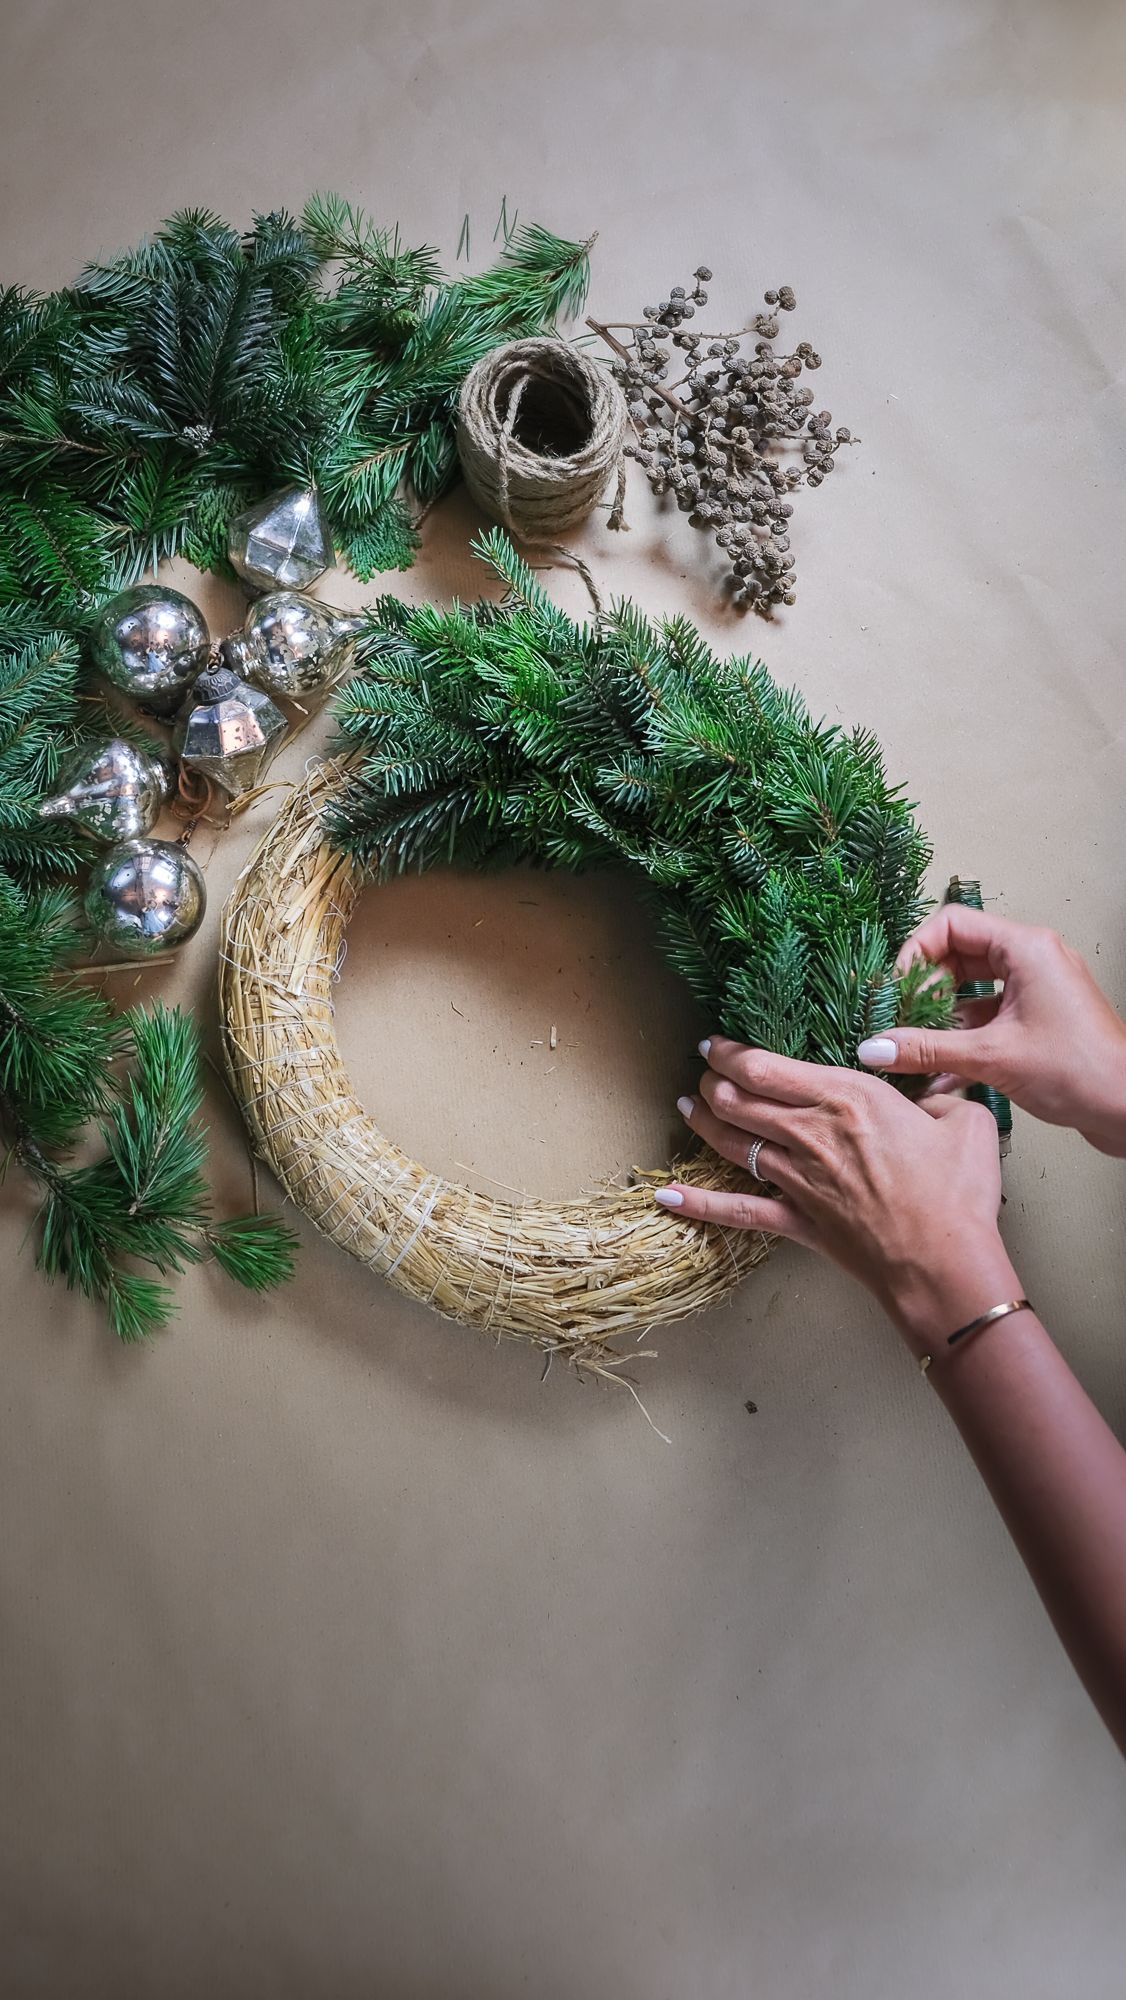
3. Continue to do this until you have covered the whole ring. Try to make sure the sprigs are evenly distributed along the ring. Don’t worry if (like me!) you don’t get it perfect first time – you can always adjust the sprigs at the end of the process (point 5).
4. Once the whole ring is covered, cut the wire and wrap it around the piece of wire where you started.
5. I recommend putting the wreath on the ground and looking at it from above. That way you can see if there are any bits which have not yet been covered. This is the point at which you can adjust some of the sprigs to make sure everything is covered. It’s also a good opportunity to trim any bits which are sticking out or to add any in small sprigs where there are bits of the straw ring showing through.